Tonight’s meeting began on a special note, as Rick Anderson, the elected club president is unable to finish his term, and past president Joe Mannke agreed to stay on until a new club president can be elected. Thanks to both for stepping up.
Demonstration Meet:
Scheduled for February 19 at Fred Damianos’ house 4716 Pinnacle Drive, Bradenton, at 7 PM. Bring a chair and carpool if practical. Fred wants to show his lathe duplicator.
Shop Meet:
Scheduled for February 26, 7 PM at the studio of Marvin Stoltzfuz, 8400 Big Buck Lane, Sarasota. As usual, bring a chair and carpool if practical to see Marvin’s take on dust collection for his lathe, and for a colorful presentation of 3D flowers using iridescent paint.
2 x 4 Contest and Club Picnic:
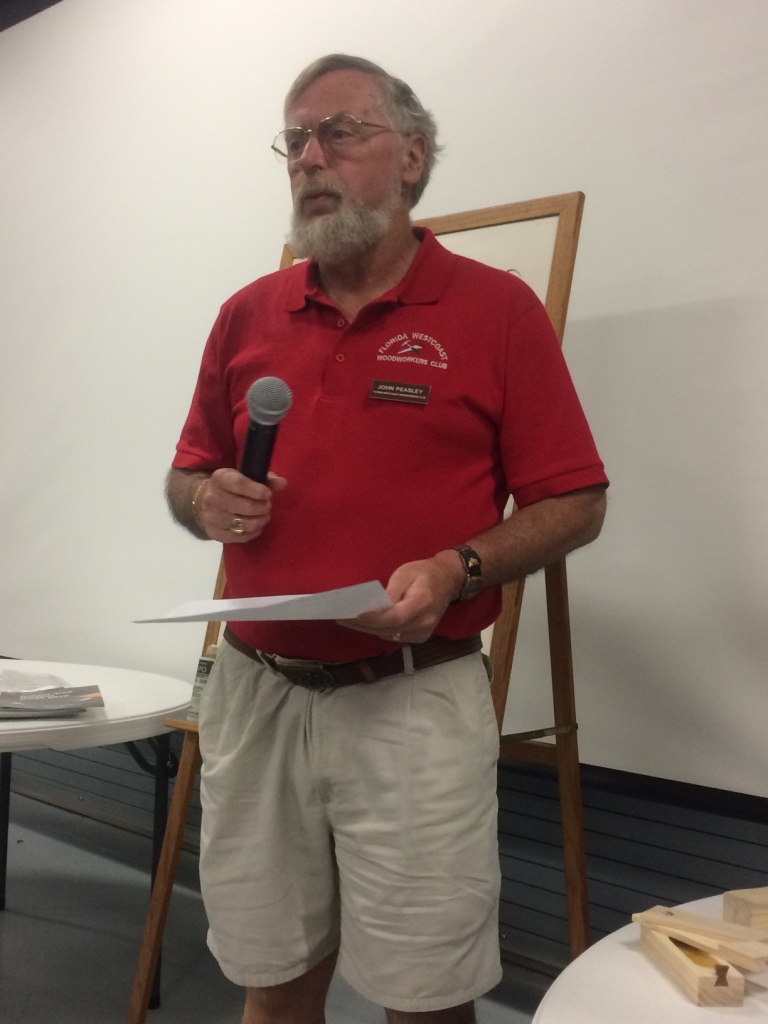
The club picnic will once again take place at Rothenbach Park off of Bee Ridge Road, on April 8th, from 1 to 5 PM. See John Peasley for the sign up sheet and register to bring a food dish. Judging for the creations made from a single piece of standard construction grade 2 by 4 will begin after the lunch meal, and prize$ will be awarded. Rules for the 2 x 4 contest are on the website. Everyone who enters gets a goody bag, so let John know if you are going to enter so we can have enough bags.. Coordinate with John if you can volunteer to bring any extra chairs or a table.
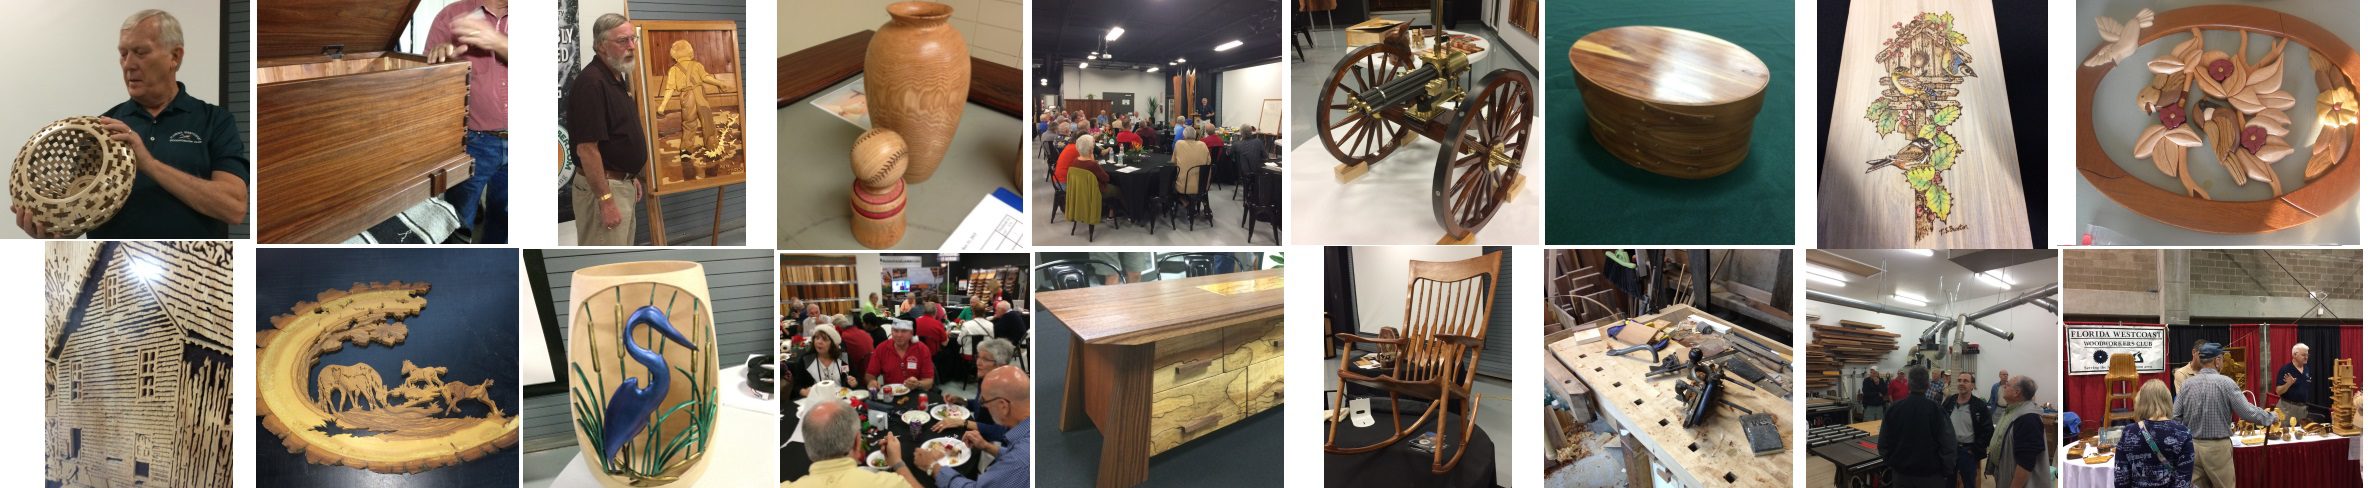
February Show and Tell:
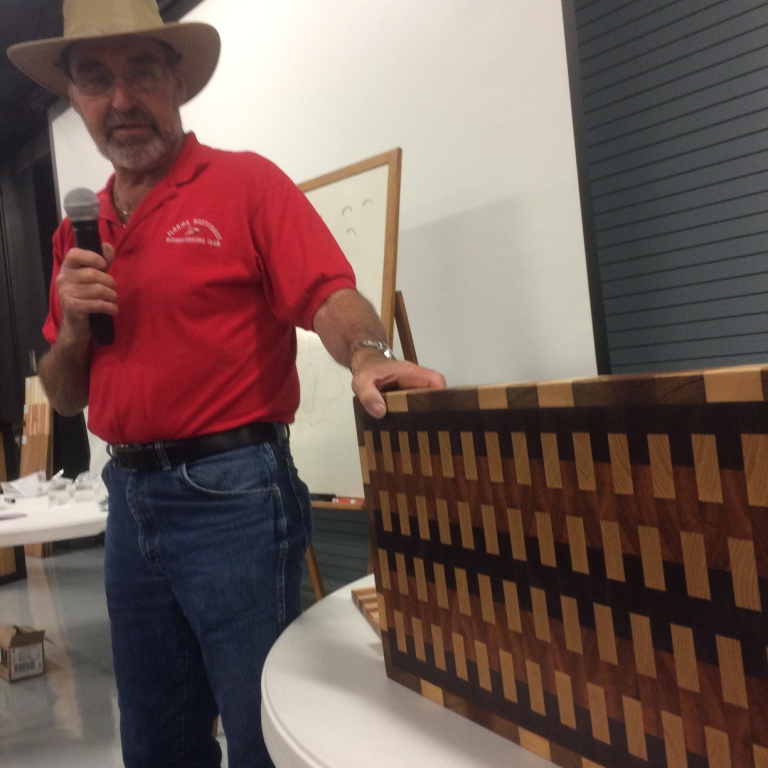
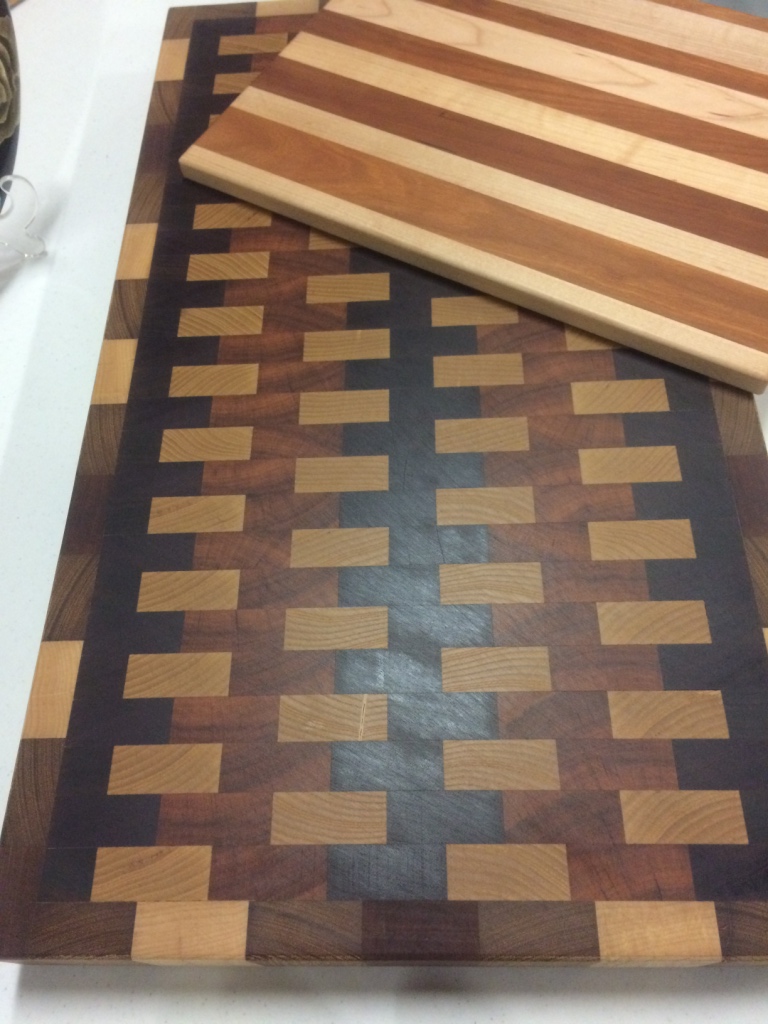
Floyd Yoder lead off with a very large and unique cutting board made from end grain hardwood that took hours of sanding. The board is meant to be used on a counter-top and was glued using Titebond III water proof glue. Floyd also had a smaller and simpler cutting board.
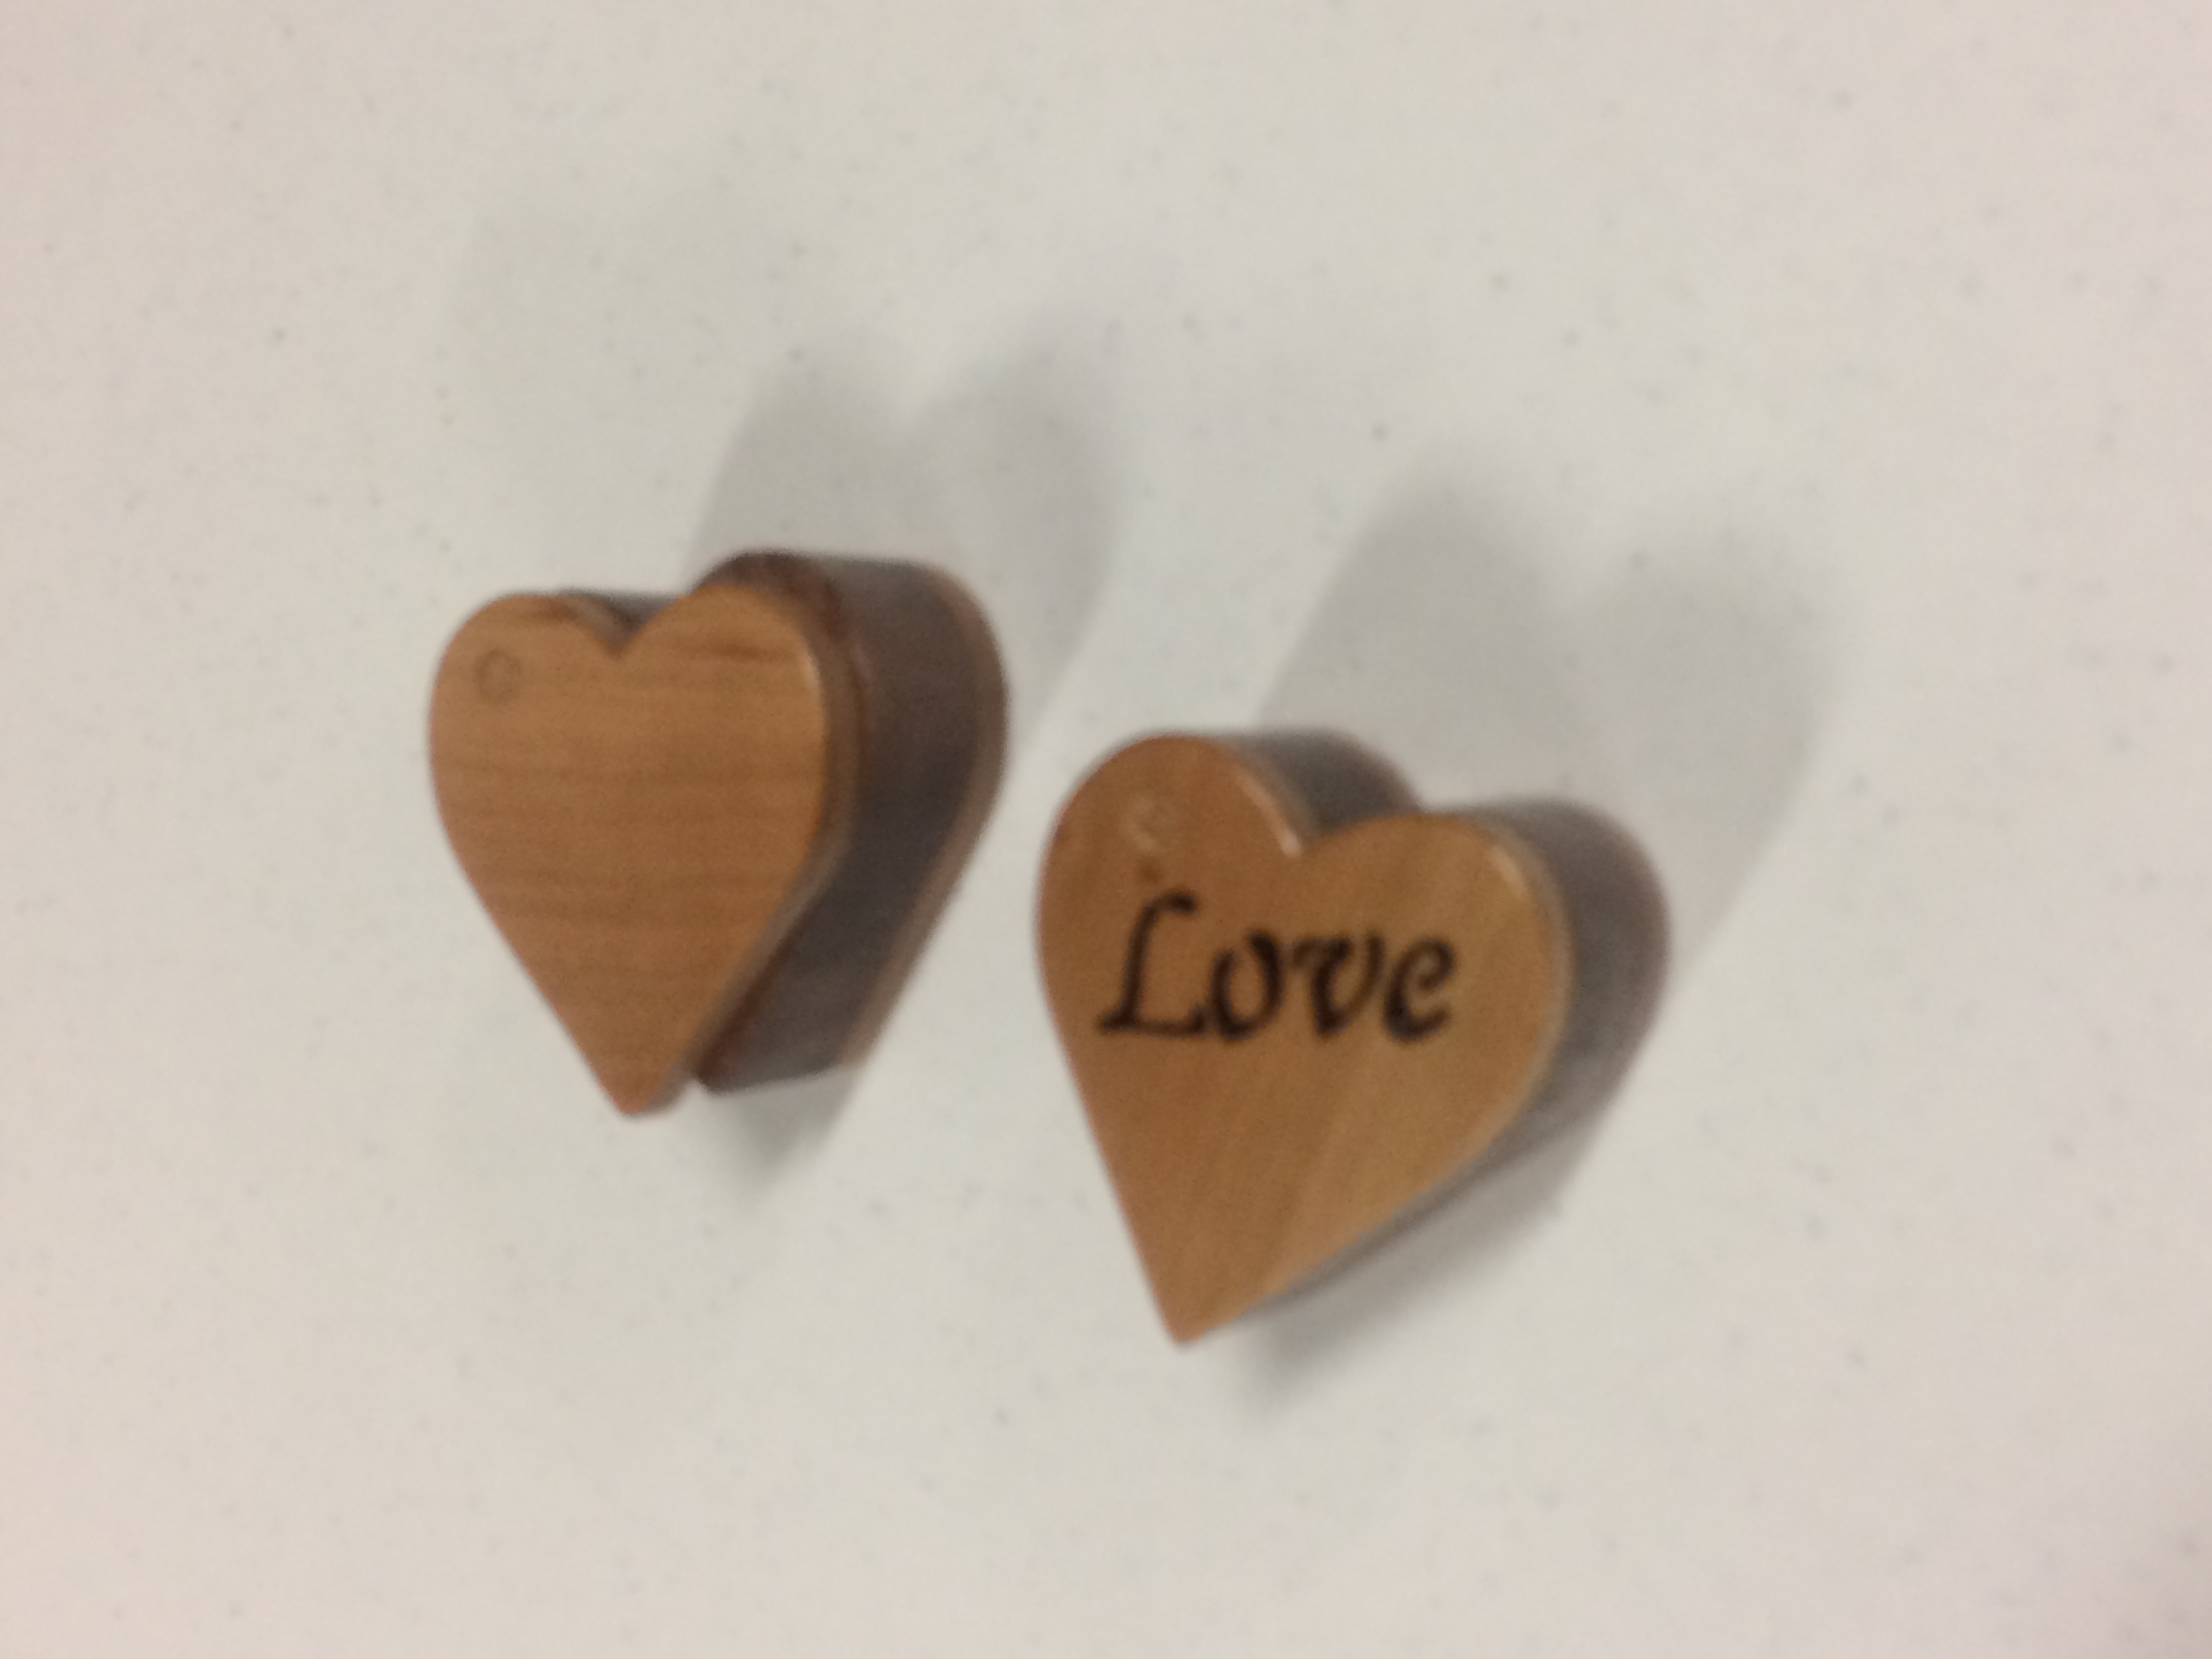
Terry Bair really put his heart into his work with some small operable boxes meant as a Valentine’s present.
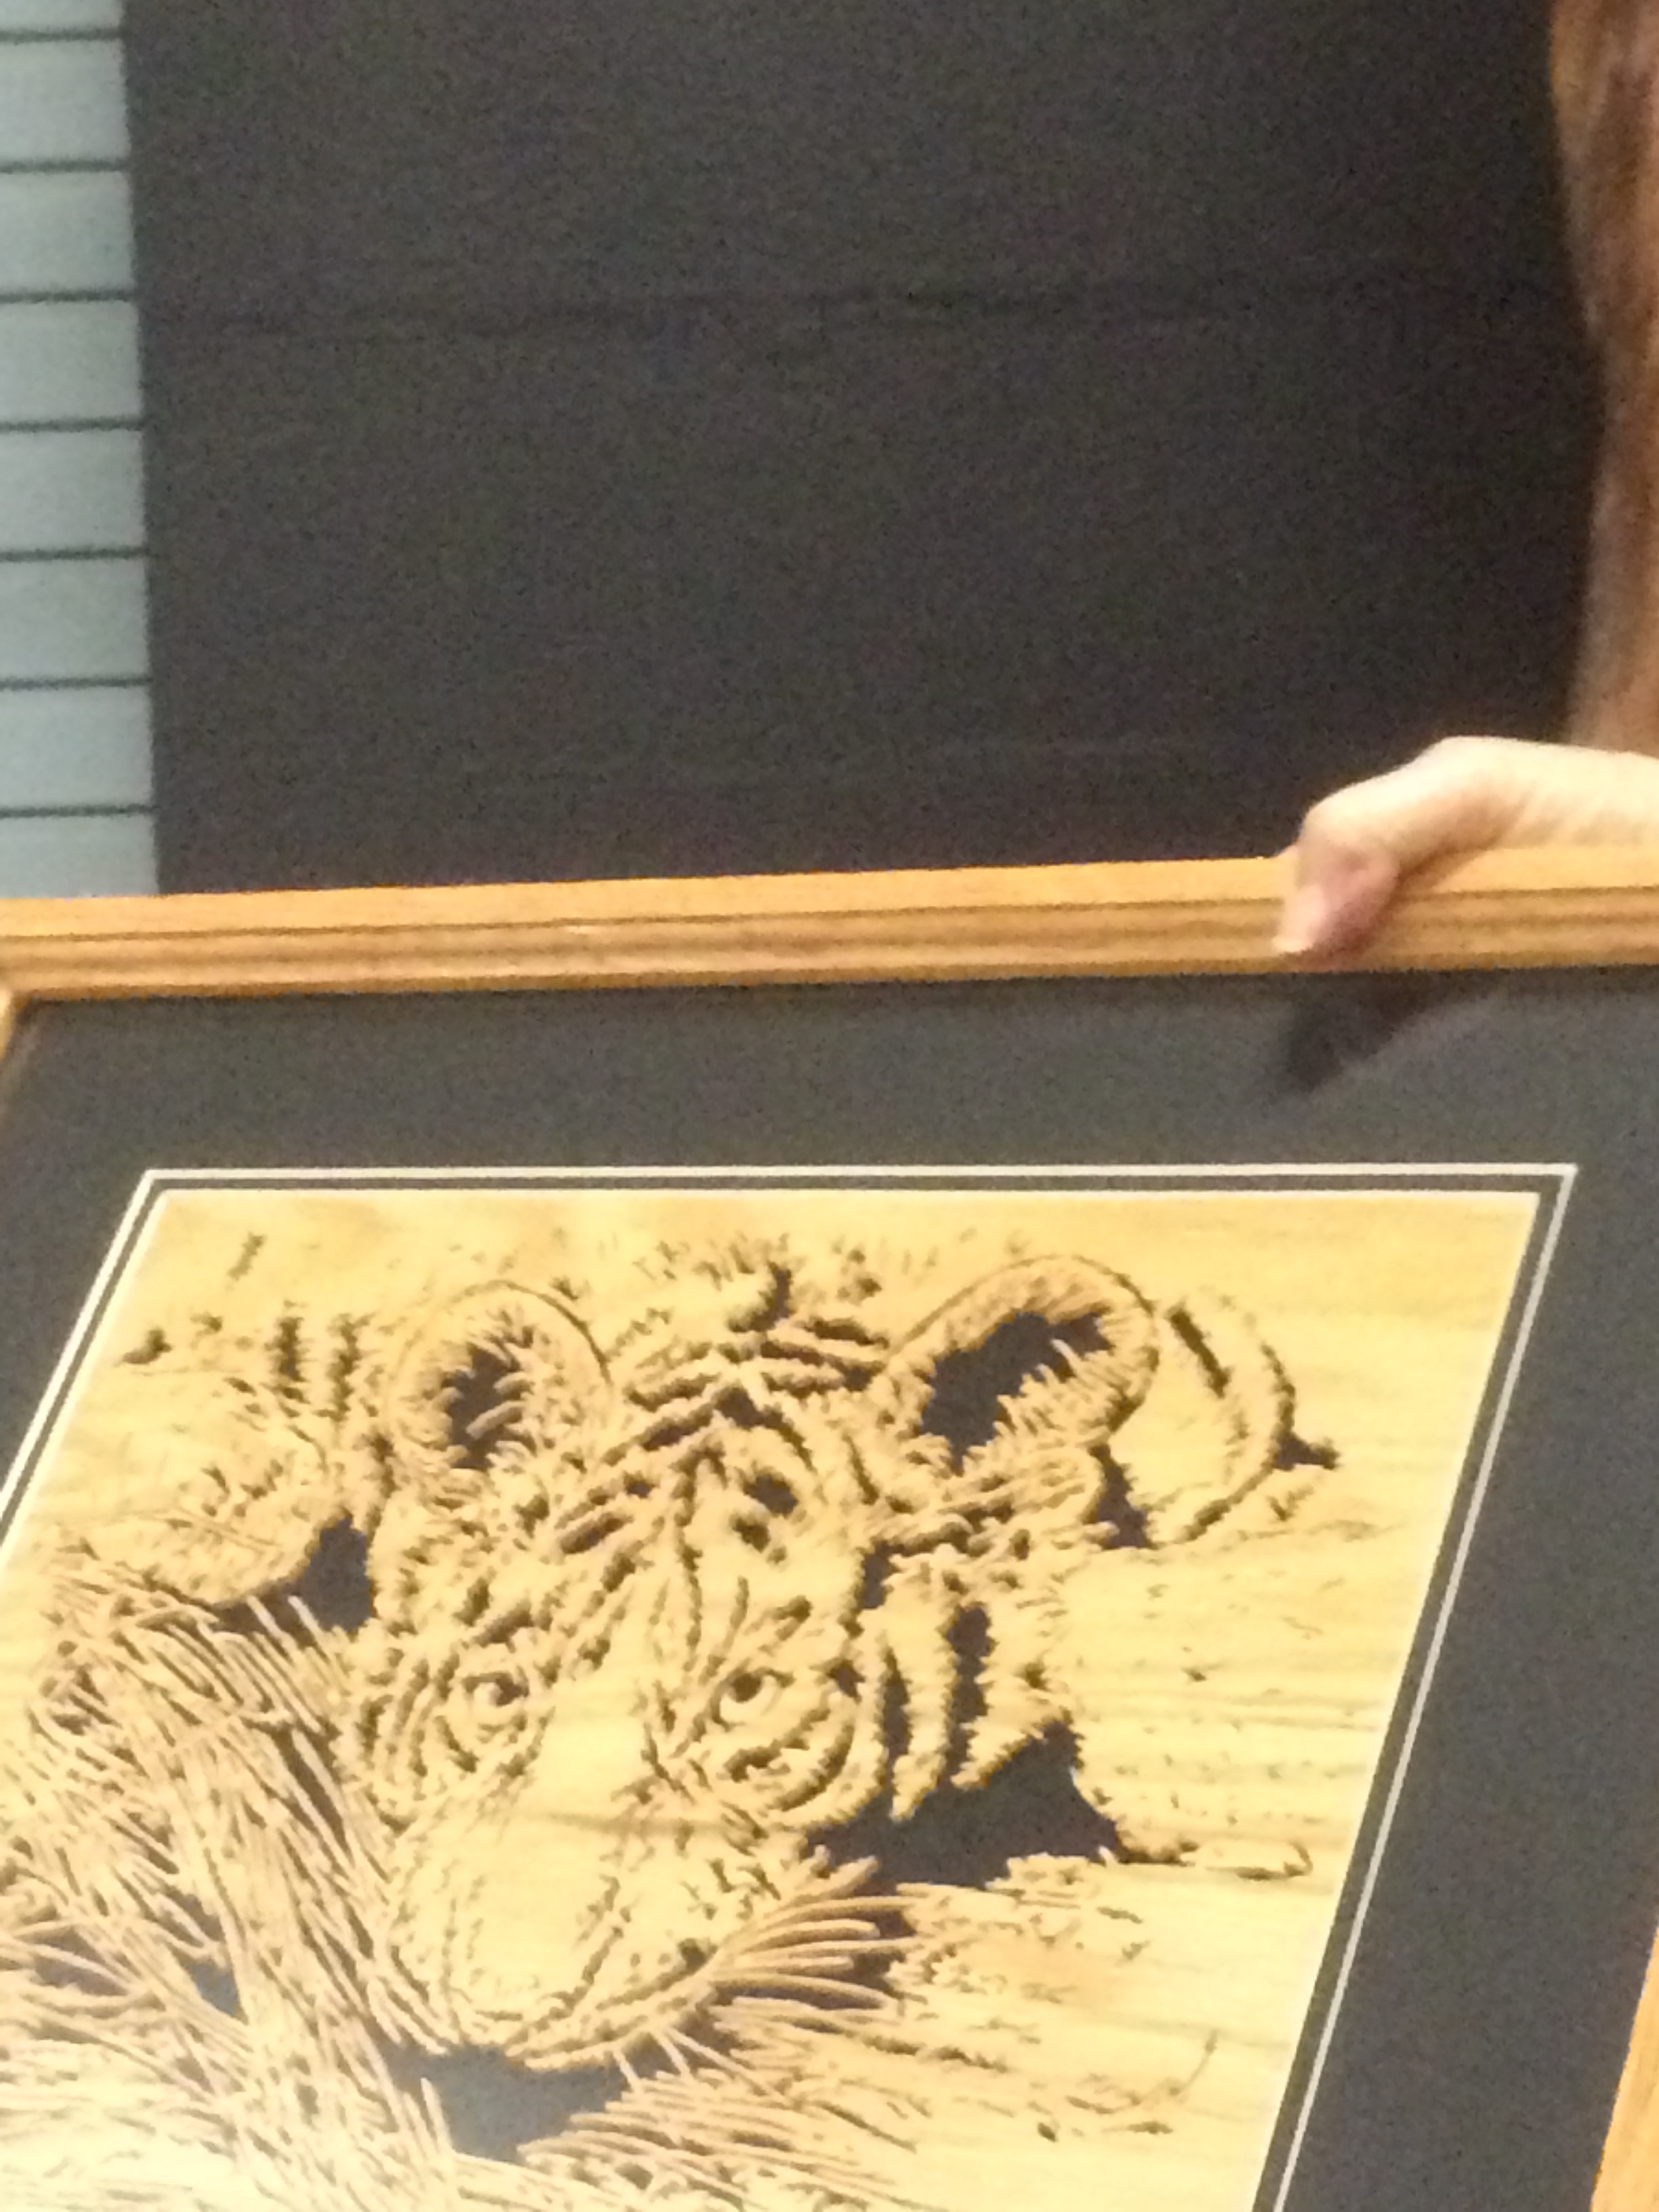
Joe Mathis presented two fret work pictures made from high quality void free oak plywood in which he does the matting himself.

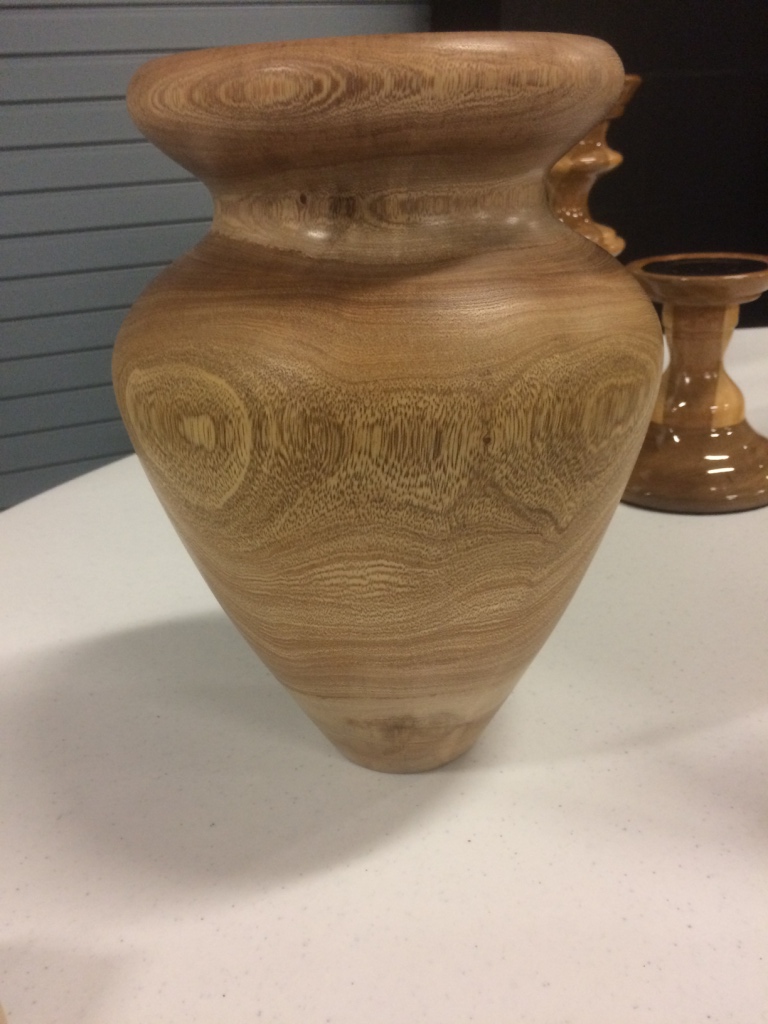
Tom Falcone showed a hollow form vase made of cuban laurel. He says this wood is unique, as it dries quickly and was finished with a butcher block finish.
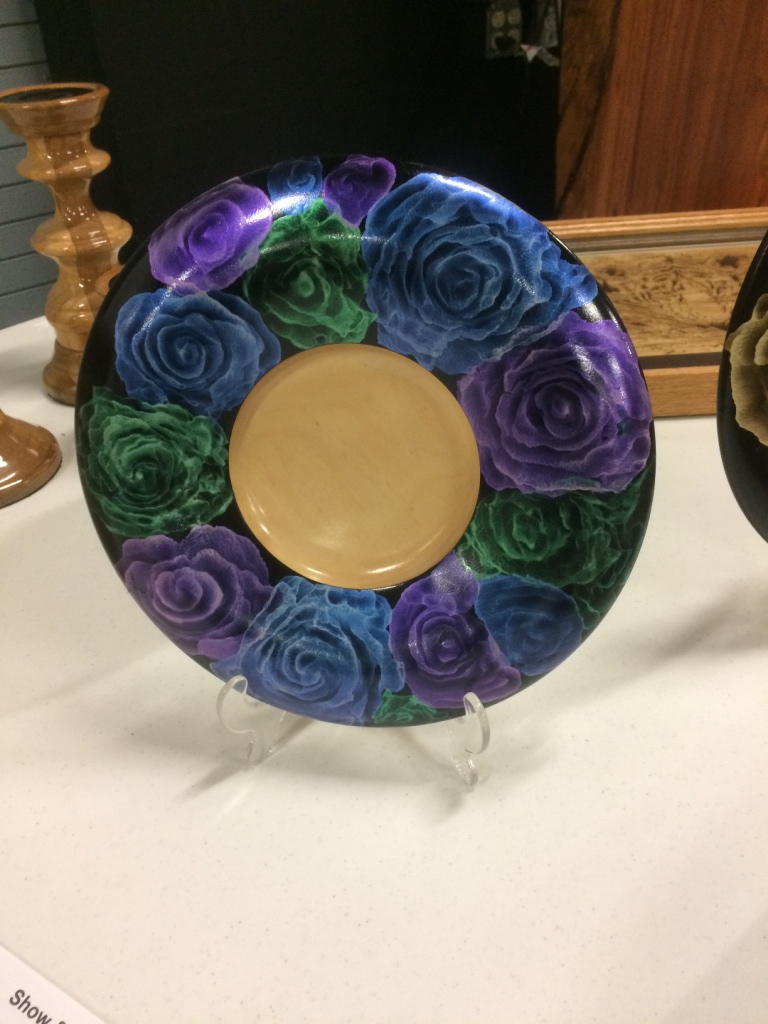
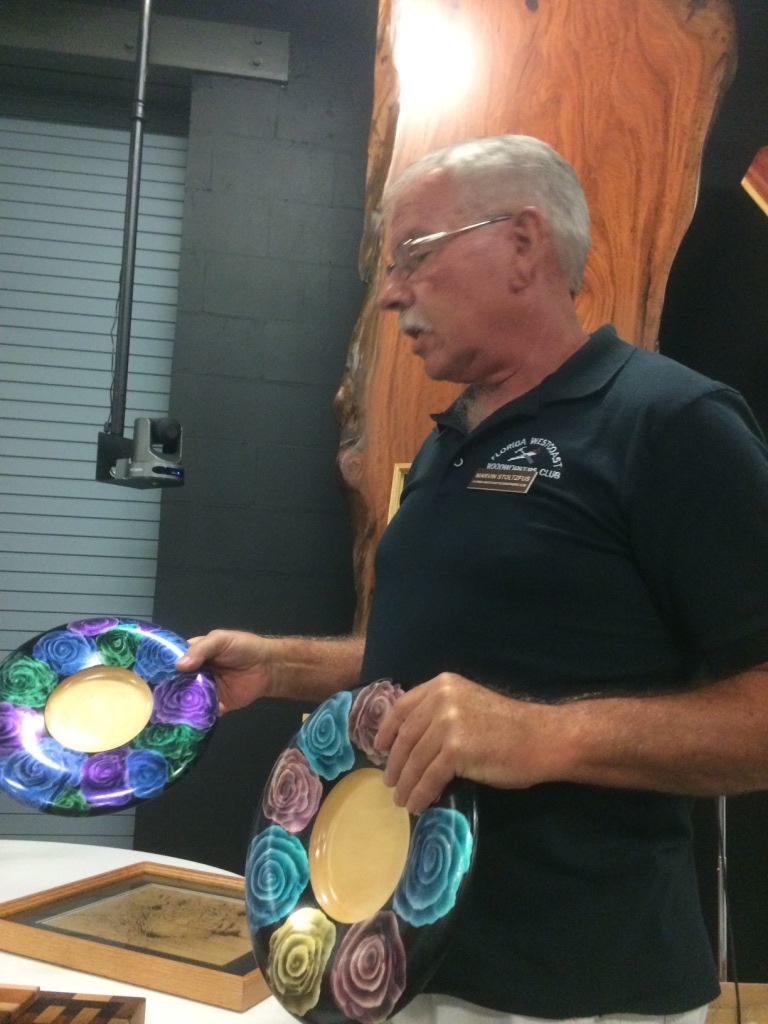
Marvin Stoltzfuz brought in two platters turned on his lathe that he finished with iridescent paint a technique he will be showing at his shop meet.
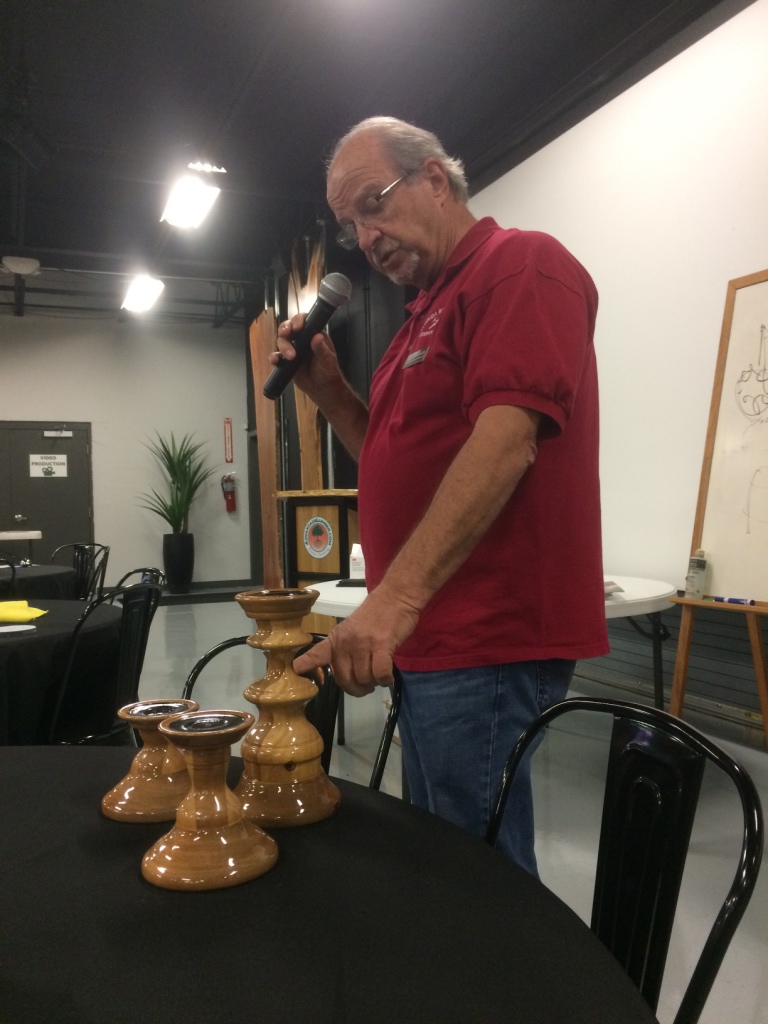
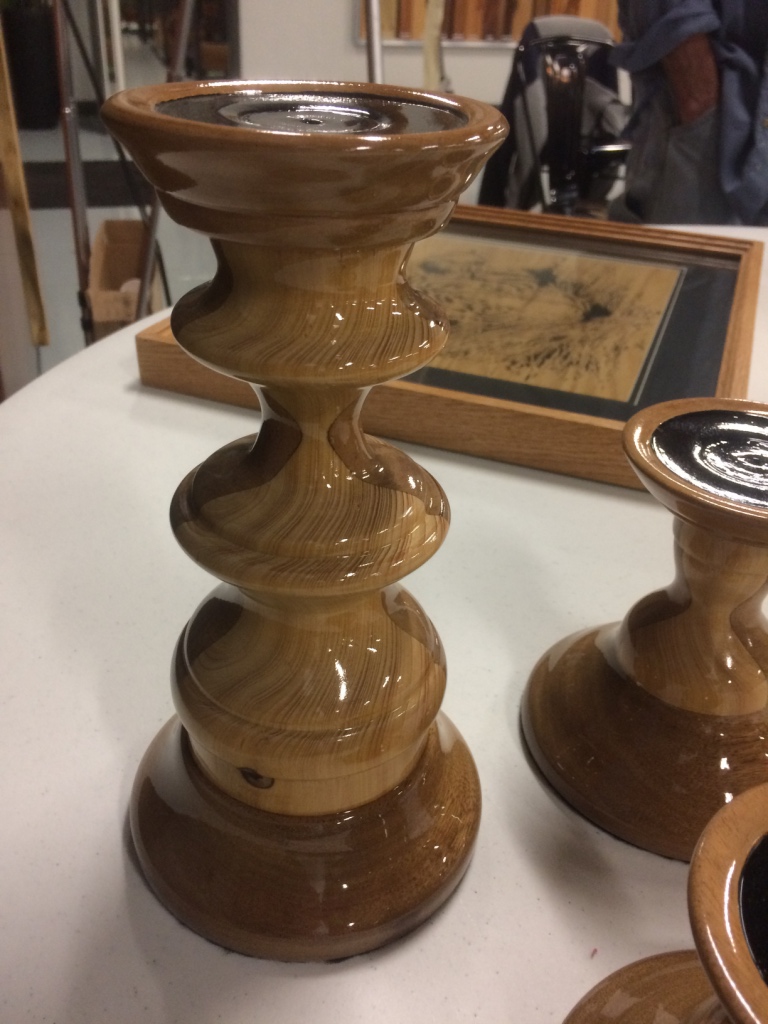
Fred Dimianos had three candlestick holders made from sepele and cyprus. To achieve his ultra high gloss finish, he used three coats of water base sealer allowing plenty of time between coats to dry followed by a high gloss spar urethane. Each layer of finish was sanded between coats.
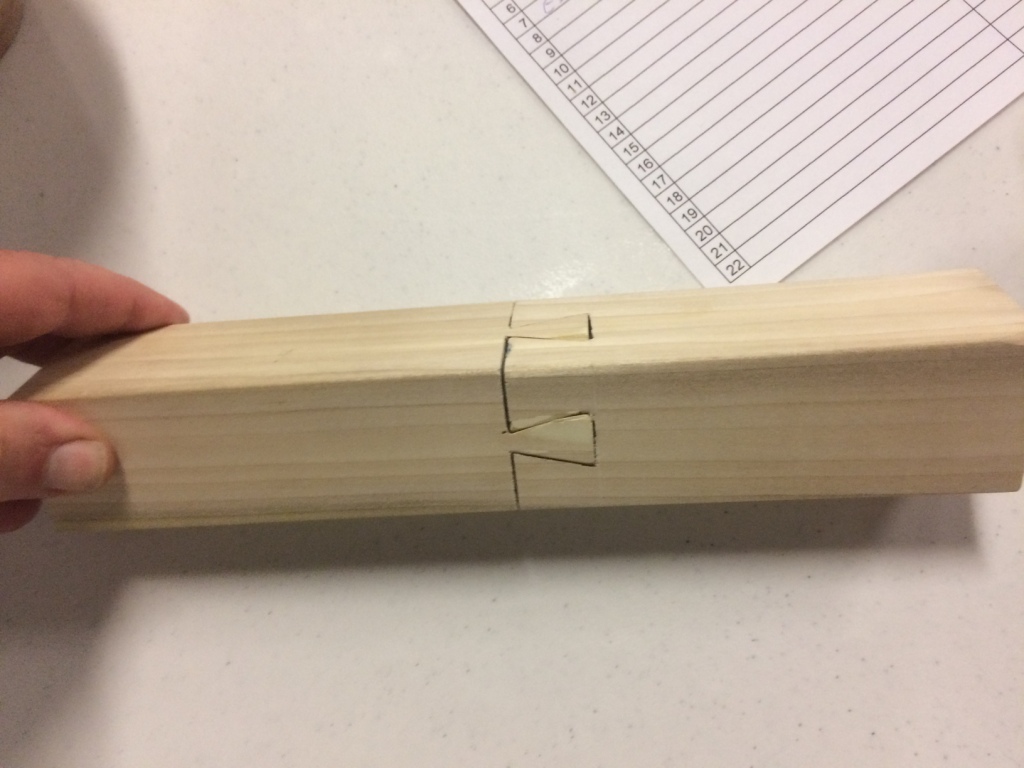
Ed Columbo expressed his fascination with Roy Underhill’s TV show by reproducing two projects, one, the impossible dovetail joint, and the second, a covered grease pot for lubricating screws with beeswax.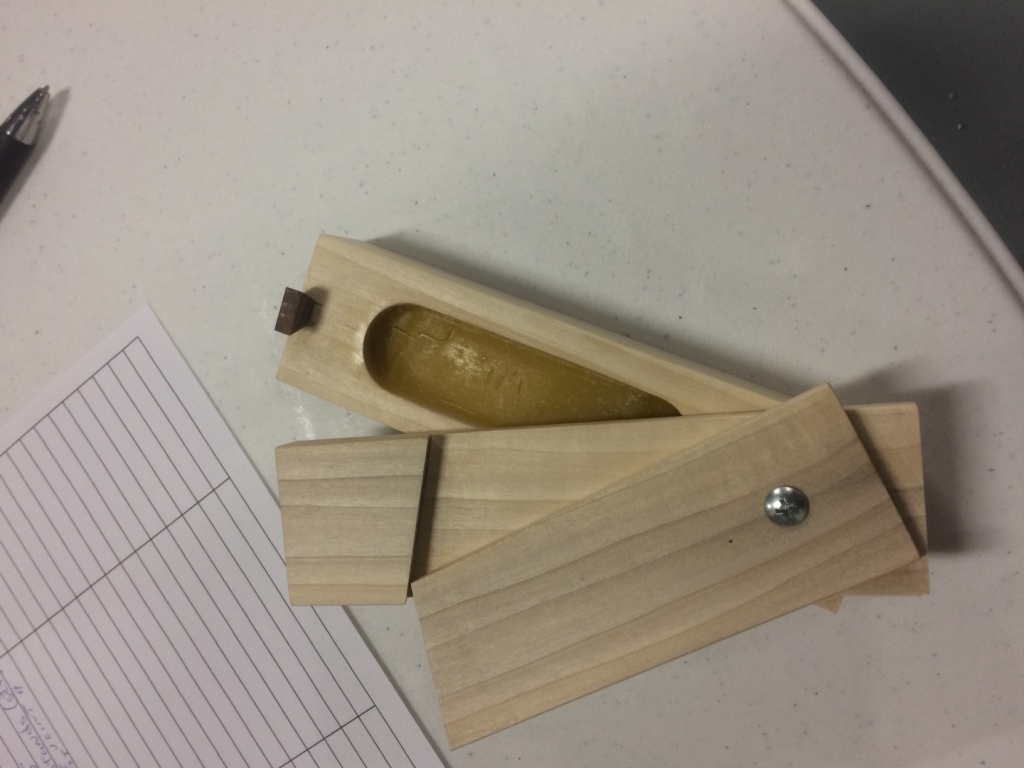
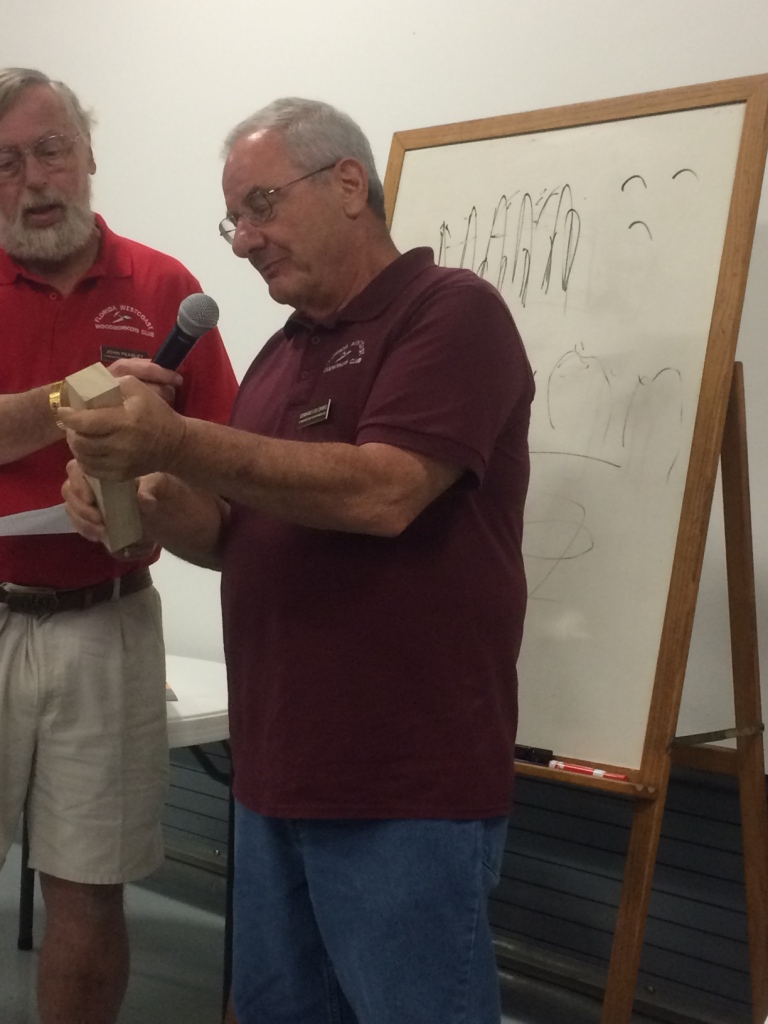
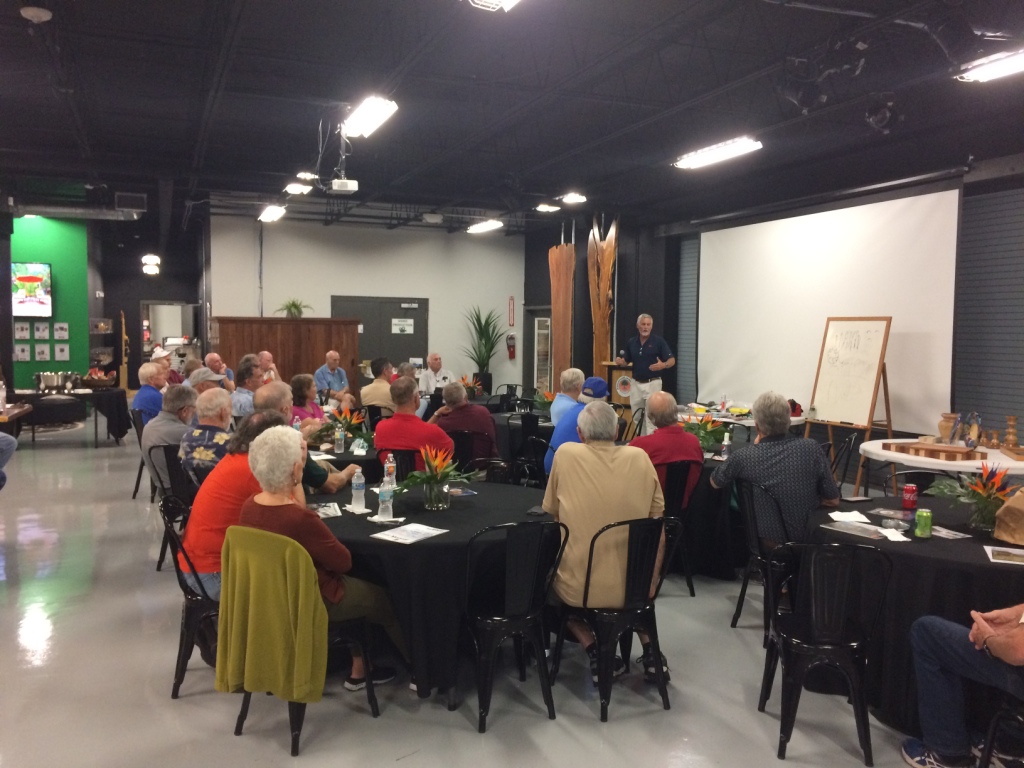
Tonight’s Presentation was by Jim Christianson from
3M Corporation.
Jim says he has been sanding for 3M for 19 years, and if it seems like some of your projects take that long, read on for the tips and techniques that Jim shared with us. Jim also shared some worthwhile safety advice.
His industrial focus has been on boats, since this area has a number of boat manufacturers. His experience there leads him to suggest that the work piece be put at a good working height above the waist. He related a story about industrial finishers who when working overhead grew tired by the afternoon and in an effort to speed up, they pressed harder on the sanders and only succeeded in increasing the number of scratches left in the finish. Also, he stressed to clean out the sandpaper for the same reason, to diminish scratches.
Jim briefly compared three types of paper, the old garnet paper, aluminum oxide, and silicon carbide paper. Garnet is very sharp, but would dull quickly. Aluminum oxide is very hard, but it dulls and remains on the paper and when that happens, it cuts slowly. Silicon carbide will fracture, exposing new surfaces for cutting, but the sanding debris, called swarf, needs to be cleaned out so that it does not block the sanding action.
He suggests sanding in a pattern, going first north and south while drifting from left to right like the pattern of a sine wave moving from left to right. Then turn the work piece 90 degrees to change the pattern and over the area again.
Scratches, swirls, or comets left after sanding with a grit means that the previous grit did not remove all the scratches and one may have to go back down in grits two sizes. One can coat the surface with alcohol to see high and low spots with a strong light or flashlight.
A good sanding block is important and he suggests a dense rubber pad and cautions to avoid just holding the sandpaper in your hand, since that results in sanding grooves matching the size of your fingers and hand into your work.
Interface pads are the softer almost sponge like pads that hold sandpaper onto a sander such as random orbit sander. The interface pads allow sanding contours. Start the sander off the work piece surface and when done, lift the sander before turning it off. This prevents tipping the sander slightly, potentially damaging the work.
When paper stops cutting, change the paper. Lets face it, Jim is a salesman.
The smaller orbits on an orbital sander are preferred to larger orbits, and if one can connect the sander to a vacuum, it is even better as the debris is removed while working, the paper will last longer, and the area will stayer cleaner.
Jim says to use masking tape to protect adjacent areas while sanding, such as if one needs to sand inside a drawer, one can protect adjacent drawer sides with masking tape. Jim says 3M tape is easy to remove.
When sanding pieces, Jim urges the use of a guide coat, which could be something as simple as a pencil line drawn across the surface that shows when the entire surface has been sanded. Impervious surfaces can use a film type guide coat such as the blue paint that boat builders use.
Jim also showed some tack cloths sold by 3M and some masking tape, some it is claimed can mask the lines around the shape of a nickel. He showed us a product called finnessit, a fine type of polishing compound that could be used to polish the new glass stove tops in homes.
Also, 3M has a chart that shows the difference between the old ANSI designation for sandpaper that did not have the “P” in front of the weight and the new European weight system.
Written by:
Andrew DiLorenzo, Secretary